Wednesday, April 3, 2013

How to make Perler (bead) Bowls

I wanted to show you some beautiful bowls that my talented sister, Christy, made for me.  She made these from beads.  I just LOVE the color variations.  They can be used for so many different things and done in many sizes and  beautiful color variations.  In the second picture below, you can see the egg shaped green one she made me for Easter.  The other bowls were scattered all around the house and I had to empty them  to make pictures. ( They were not all made for me -- some belong to my girls!)  I have included directions on how to make these in case you are interested.  If you give it a try -- please post pictures for us to see!   
 
These brown ones are my favorite.
The colors are all so beautiful!  I love the orange/yellow variation for fall.
 
See how well they all stack together!
 
To make your own Perler Bowl you will need the following:
 
 
Oven safe bowl (any size and shape you desire)
Vegetable Oil
Perler beads of your color choice
 
First, you will need to preheat oven to 200 degrees.  Next, get your oven safe bowl and pour just enough vegetable oil to coat the bowl.  You can  rub the oil in the bowl with a napkin. Make sure that you spread it on the sides too. (The oil will help the beads to stick and also help release them when it is done).
 
Next, you need to sprinkle the beads into the bowl.  There is no way to put the bead in wrong or right.  Just push all the beads into the bowl covering the bottom and sides and leaving no empty spaces.
 
Now, put the bowl into the preheated oven.  Keep an eye on it so you can see when the beads begin to melt.  (Each bowl melts  at different times -- so just keep watching).  Once the beads have  melted to your desired liking;  take it out and let it cool.  When the bowl has cooled, run it under cold water.  The bead bowl will slide right out.  Now -- find a use for your beautiful new bowl!
 

Saturday, March 30, 2013

Wedding Card Basket

Hello friends!  My mind is back on the wedding again.  I found this basket at a Thrift Store for $2.00. It was an ugly navy blue color. I loved the shape of it; so snatched it up. I thought it would make a wonderful card basket. Hilary really likes burlap pennants, so I decided to  add that. What do you guys think?


I love these keys.  I added them to the basket to give it more of the "shabby chic" look.

I had some coffee filter flowers that I made several months ago.  I tied one on each handle with a burlap and lace ribbon.  Hope you like the wedding basket... but most of all -- I hope Hilary and John do!  Thanks for dropping in.

Easter Twig Cross

At our "Pinterest Night" at the library this month, we made a beautiful twig cross.  I love how mine turned out and wanted to share it with you today.   Have a wonderful Easter tomorrow!  I am looking forward to a wonderful church service and time spent with my family! 


Thanks for visiting!  See you again soon.


Wednesday, March 27, 2013

Our four- legged babies

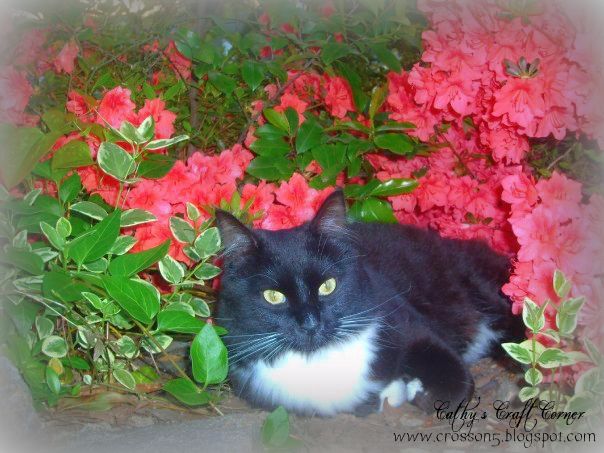
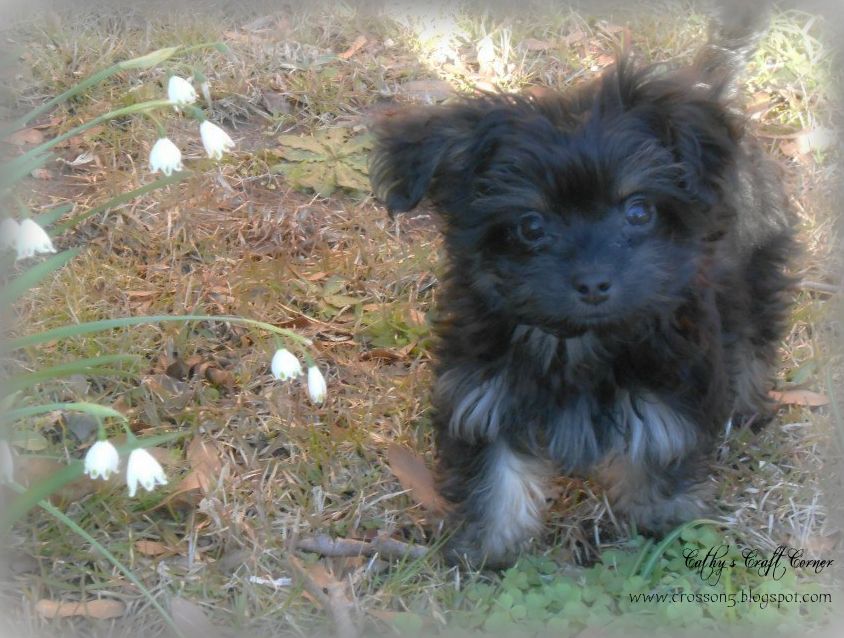
Hello friends!  I decided to share our four- legged babies with you today!  We have four pets.  Our oldest is Sugar, a bull-boxer. She is around 9 years old and rules the roost. She will do anything to get her way and loves to be the boss.  Next, we have a boxer named Brodie.  He is about 5 years old and is the biggest baby you have ever seen.  He is very muscular is often mistaken for a pit bull due to his brindle color.  When he gets upset about something, he cries and sounds like a woman wailing.  He is all baby.  Then there is our tuxedo cat, named Ace.  Ace is so precious.  He loves to be rubbed and has the softest fur you have ever felt.  I call him my "perfect pet".  He never jumps on the tables or counters.  If you ever feel bad, or just seem a little depressed -- he will stay by your side and try to comfort you.  He is a lover.  Last, but not least, is Alaska.  Alaska is half chihuaha and half poodle (some call them a Choodle).  She weighs a whopping 2 pounds and is four months old.  She was a gift to my  daughter, Hope.  Hope is the  youngest and her two older sister have flown the coop.  We felt like she needed a friend... so along came Alaska.  Alaska is such an adorable little thing.  She loves Ace but drives him crazy.  She also loves to be held and cuddled.  She enjoys playing fetch and running as fast as she can around the yard when we take her out.   


Ace

Alaska
Alaska
Alaska
Brodie


Brodie,  Sugar and the hubby


Thanks for taking time to let me show my four legged babies off to you.  Come and visit again soon!

Tuesday, March 26, 2013

Easter Chic Cards


Here are a couple of Easter Cards I made a few years ago.  Just wanted to share them with you today!


"A Good Egg"  Stampin up set is by far one of my favorites.  You can do so much with this little stamp set!  I love the "you crack me up" saying.


This stamp was bought from Hobby Lobby.  I had to smile when I saw the three little chicks because it reminds me of my "three little chicks"!   


Thanks for dropping by!  Have a great day!

Monday, March 25, 2013

Cheerful, Springy "Stampin up" Card


My "Stampin Up" life has been neglected lately.  I decided this weekend I was going to make AT LEAST one card.  And -- I found time to put one together Sunday afternoon.  I have been wanting to make some baker's twine suckers since I first saw one on pinterest.  They were a little lot more time consuming than I thought they would be.. but I am happy with the way they turned out.  Here's a picture and a quick tutorial on how I made them.  Hope you enjoy!


You will need  three different colors of baker's twine.  Next, cut out three 2 3/4 inch circles.  (I used my cricut to cut mine).
Apply glue generously to the entire circle.  Start in the center and just start pressing the twine down in a circular motion till you cover entire circle.  I had to keep applying the glue as I went because it dries so fast.   Finally, I  just stamped out a mason jar from the "Stampin' up"  Perfectly Preserved set.  I cut a slit in the top and bottom of the mason jar mouth to slide the "sucker sticks' into.  I was really happy with the way it turned out!  

Thanks for looking and having a great day!


Sunday, March 24, 2013

Quilt -- Made from my Mom's clothing

Hello, dear friends.  Hope your weekend is going well.  I wanted to share with you  a very special gift that I received a couple of years ago from my stepmother.  As most of you  know, I lost my mother to cancer in 2010.  And when someone dear to you dies, getting rid of their clothes is one of the hardest things to do. Seeing each outfit brings back a flood of memories that are cherished.      My stepmother, Susan, took some of my mother's clothes and  had me and my two sister's  each a quilt made.  She also had my mother's favorite Bible verse embroidered on the bottom.  They are beautiful and such a special gift that I will always cherish! 
 
The Bible verse is Isaiah 40:31.   The quilts were sewn by a sweet and very talented lady. Here is her blog http://www.leighbirddesigns.blogspot.com.  
 
Thanks for visiting!  Come back soon:)